Learning graphic design
Ever wanted to make your own t-shirts?
How about wooden plaques or tool holders?
Learn the basics of graphic design and take your imagination a step further and bring them to life.
For starters, just do more with your favorite photos, logos, and designs already out there.
Here is my walk-through on graphic design using Affinity Designer. As mentioned before it can be purchased for a one time fee and used on multiple computers. It may not have as many features as Photoshop but for the price-tag, it is totally worth it.
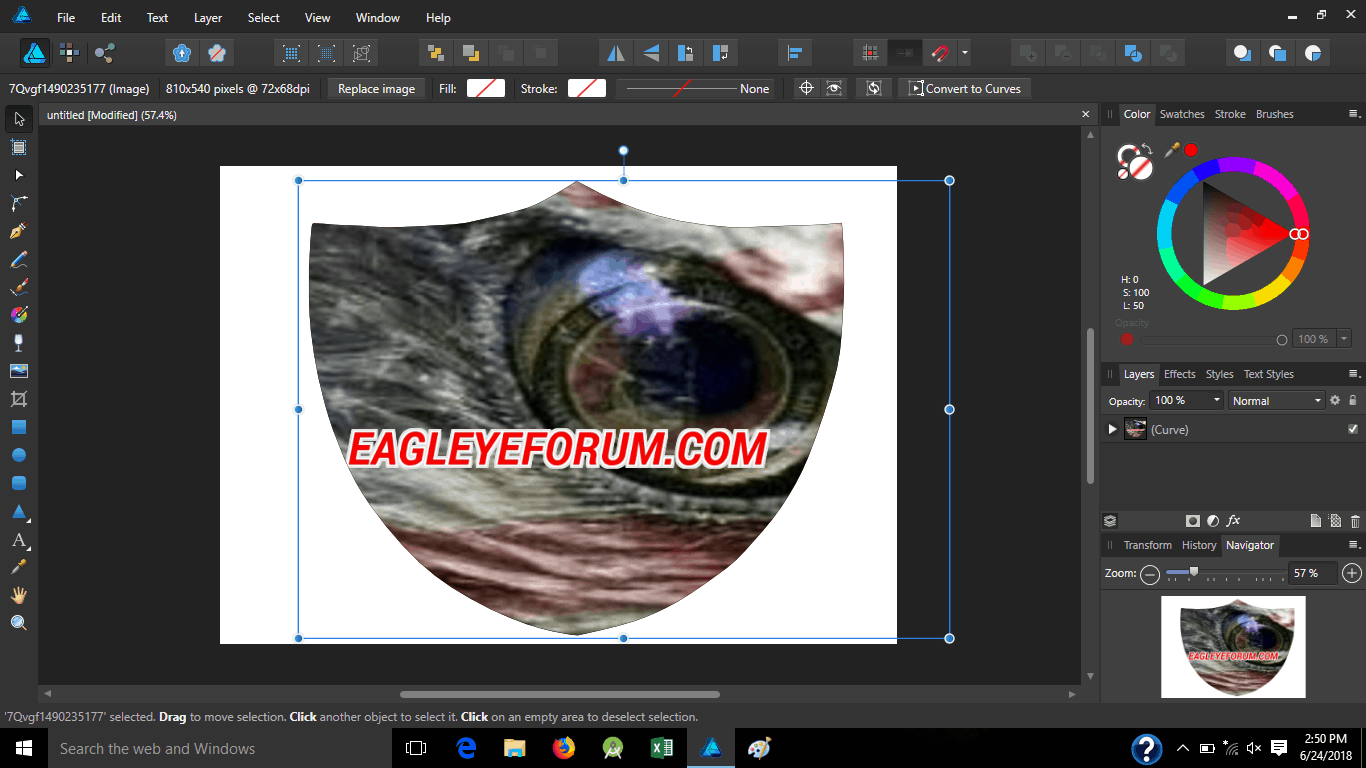
First, open your software. Go to file, start a new document which will prompt a command screen with options on preferences for the new file
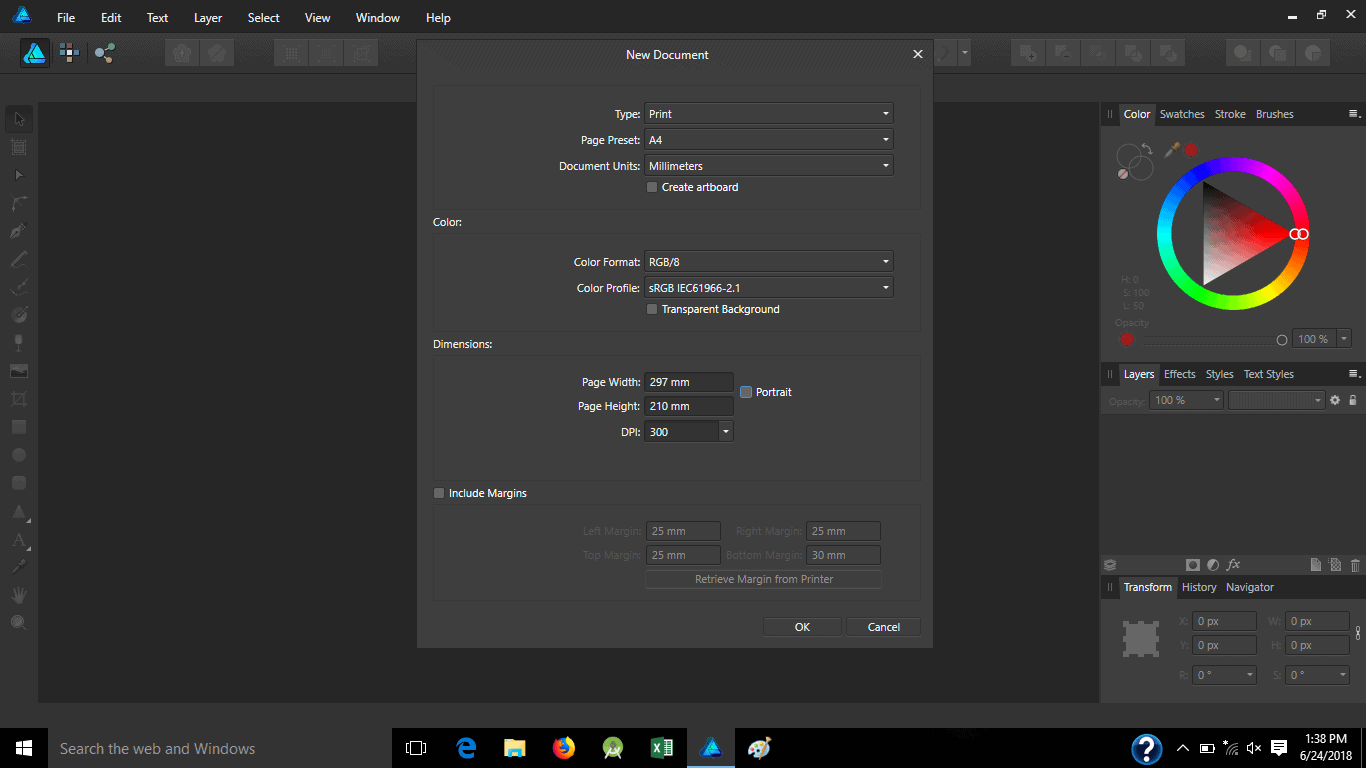
Pick the size, color theme, landscape or portrait layout, margins, and even if it has a transparent background or solid. I personally prefer transparent background.
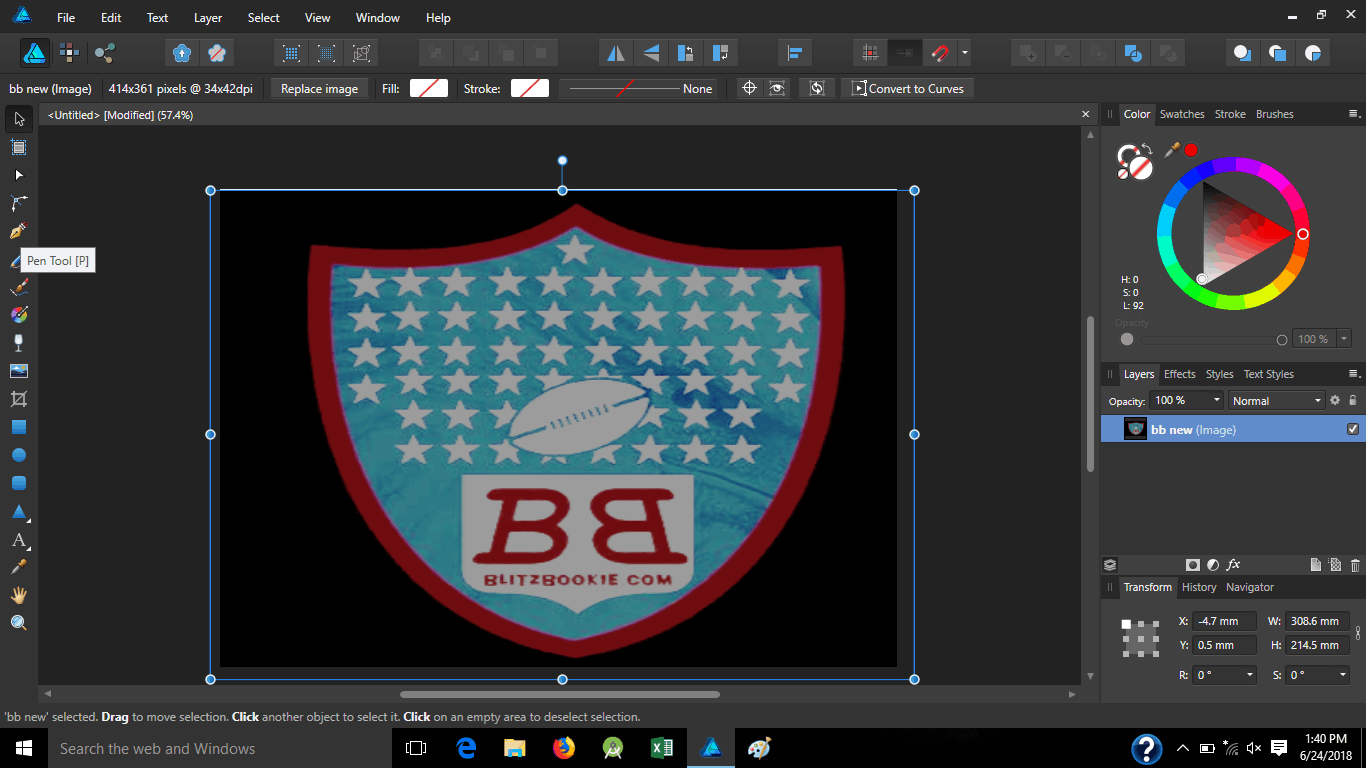
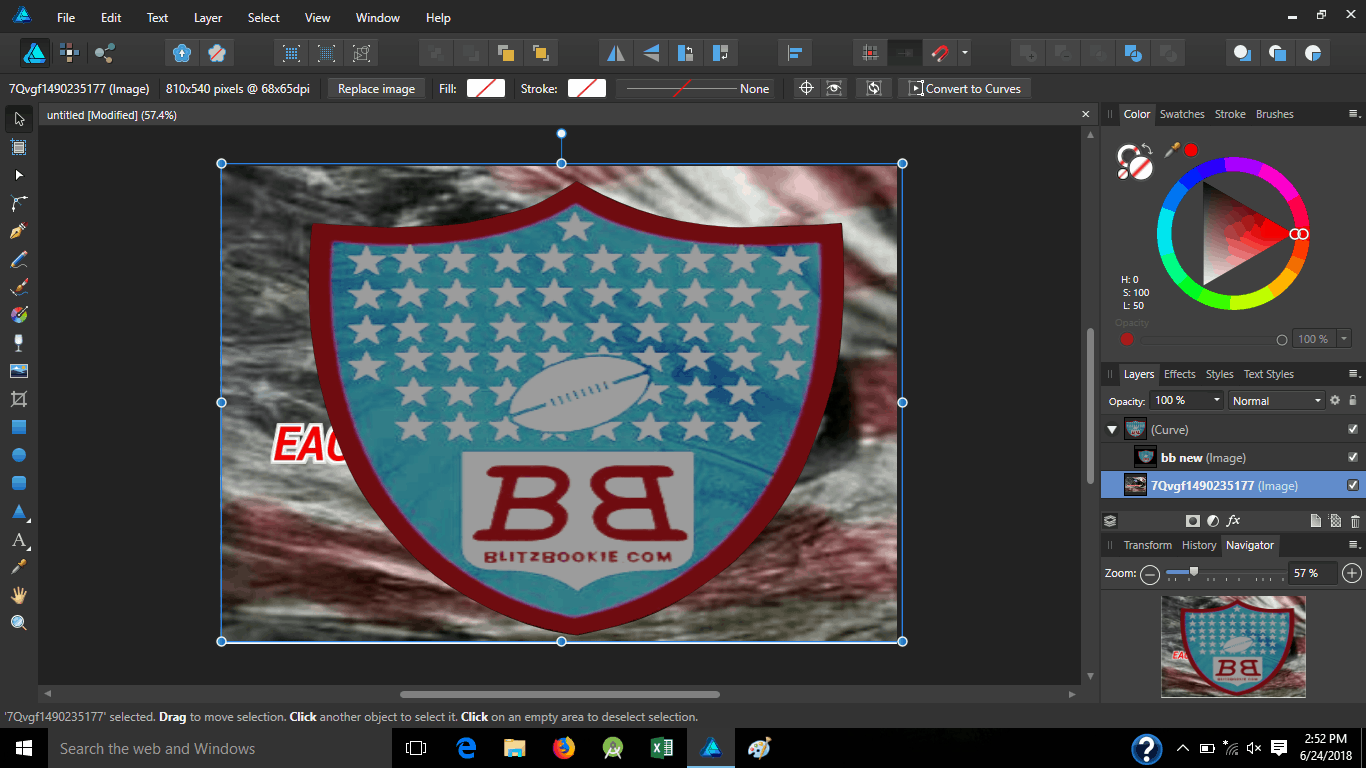
Start with adding an image by clicking the image icon on the left panel, highlighted. Find your image and insert it
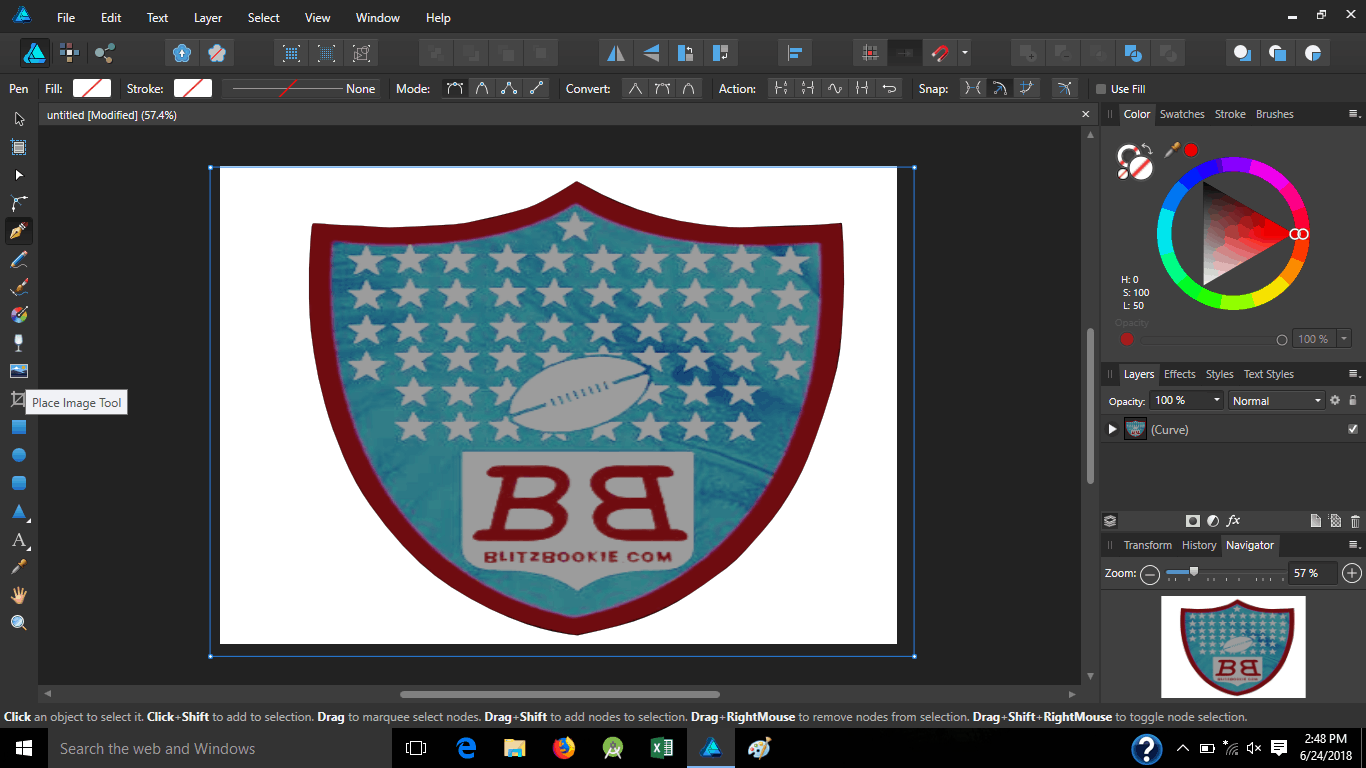
This one is with a normal background since we are going to cut the image out anyways. To do that, click the “pen tool” located 5th from the top on the left panel. It has the yellow tip, just above the pencil, and get ready to draw an outline of the image
Zoom in on the picture for cleaner lines, which you can do at the lower right of your screen.
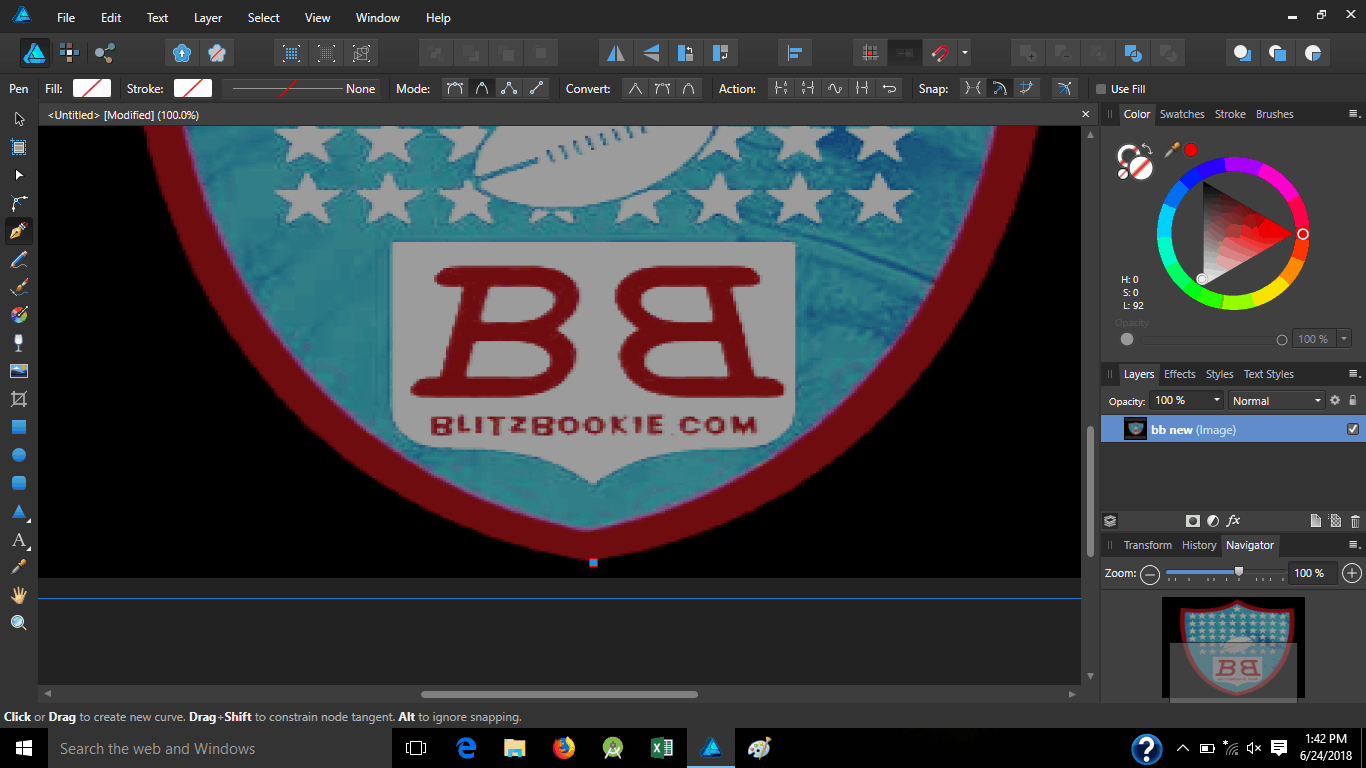
Up top, next to “mode”, notice I clicked the 2nd one. It comes with curves so it is better for rounding edges. Now start tracing the image around. Zoom in more when necessary and go all the way around. You can straighten corners when done if they don’t look right.
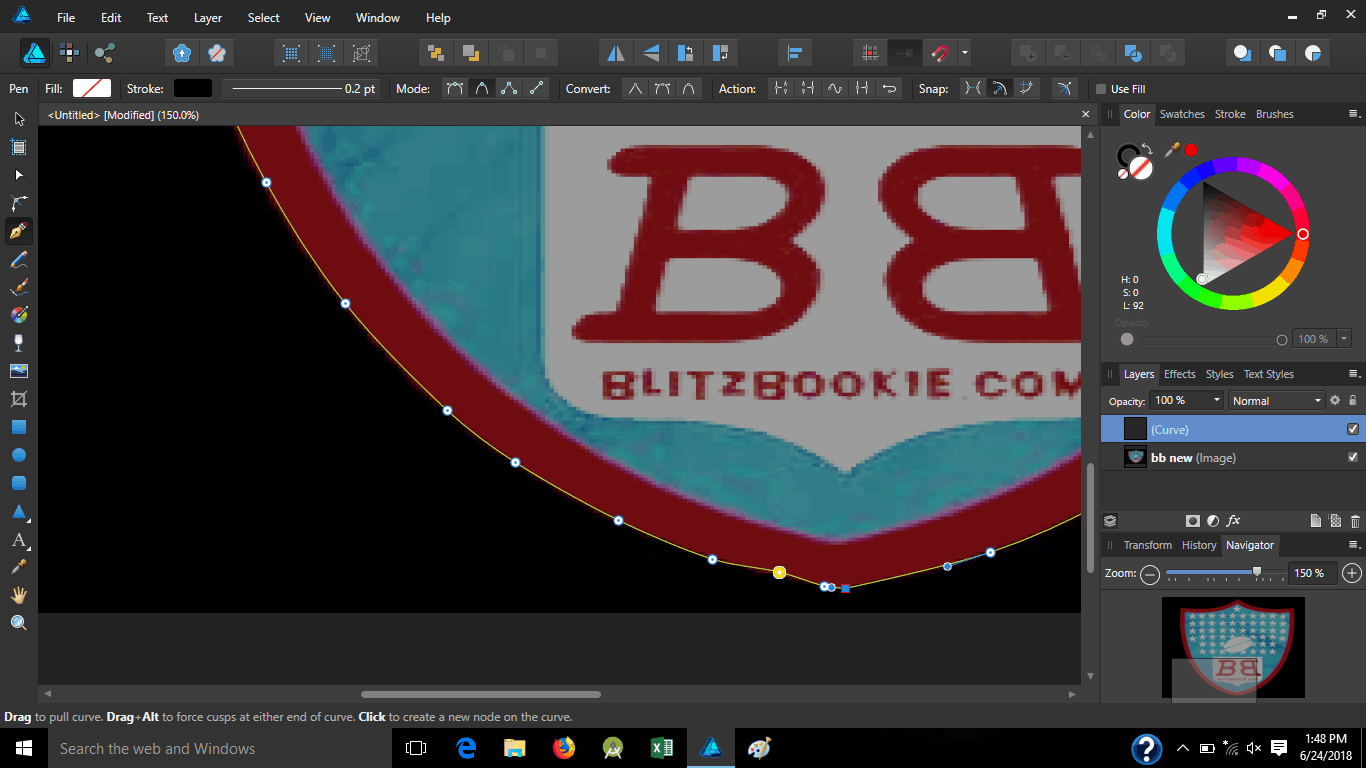
Once completed, scroll back and take a look;
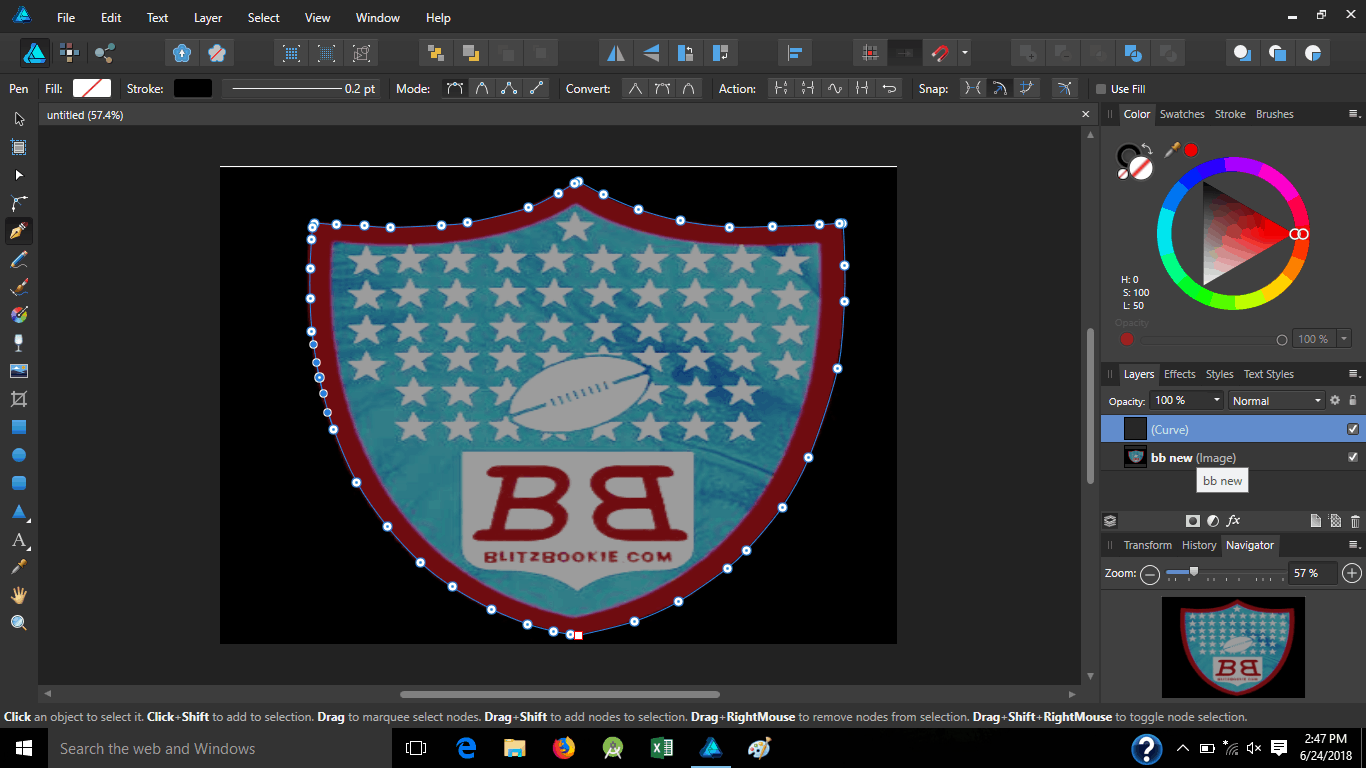
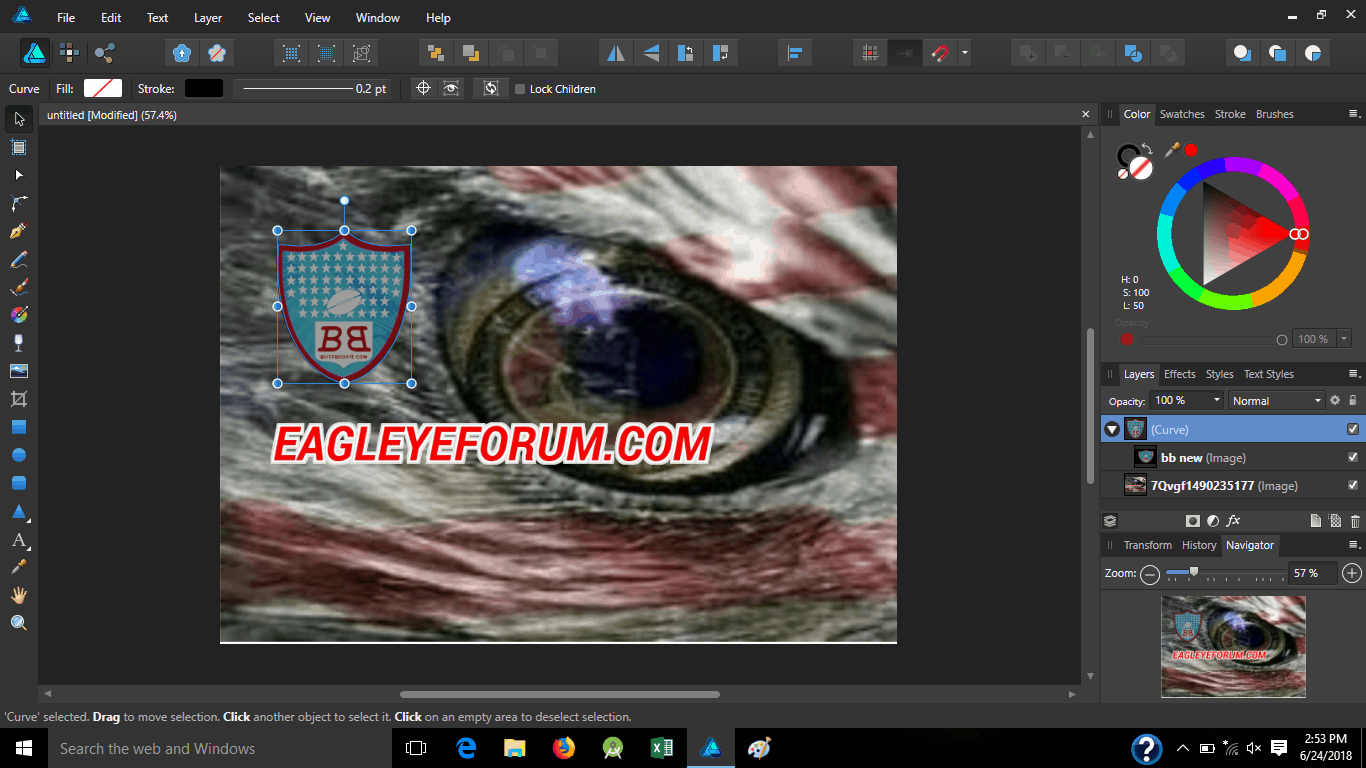
Once you have it set, go to your right “layer” tab. Click on the 1st image (here it is “bb new”) and drag it to inside your curve. That will take out the background, then you can insert a new one;
But watch where it lands, you could end up putting it in your 1st image;
In which case “CTRL+Z” could undo it.
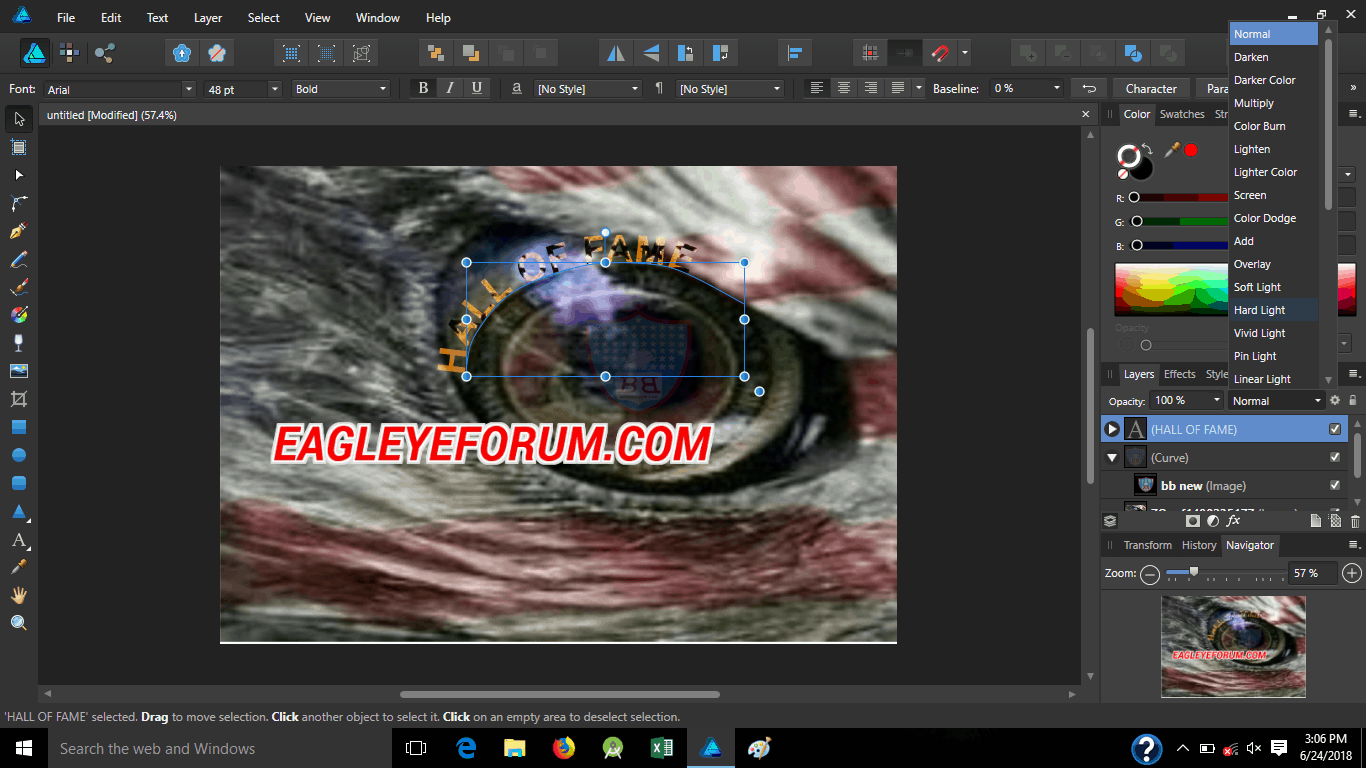
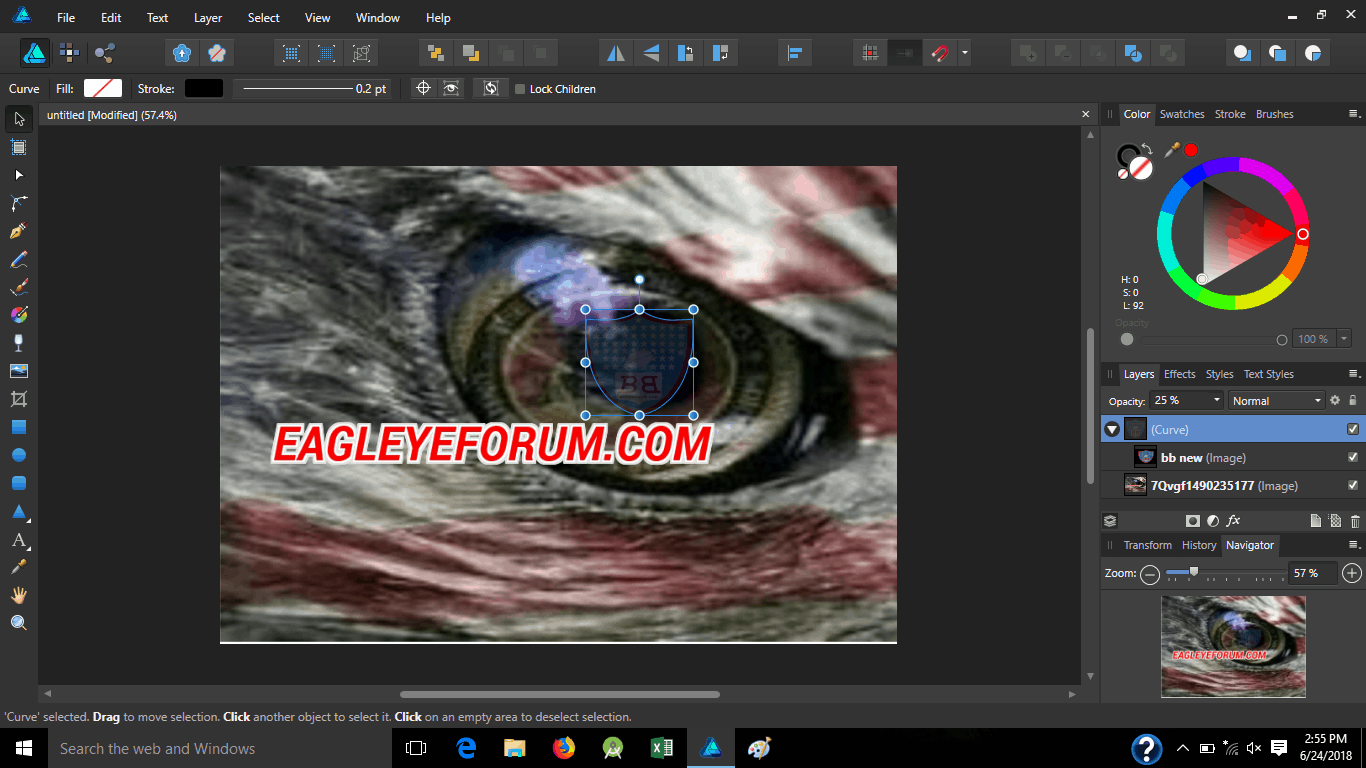
Now we want to bring that image lower so I click on the layer curve with the top pointer in the left panel, and shrink the pic down to fit the eye;
I don’t want it taking away from the eye so I lower the opacity of it, which pretty much makes it see through the lower you go, here I went 25%;
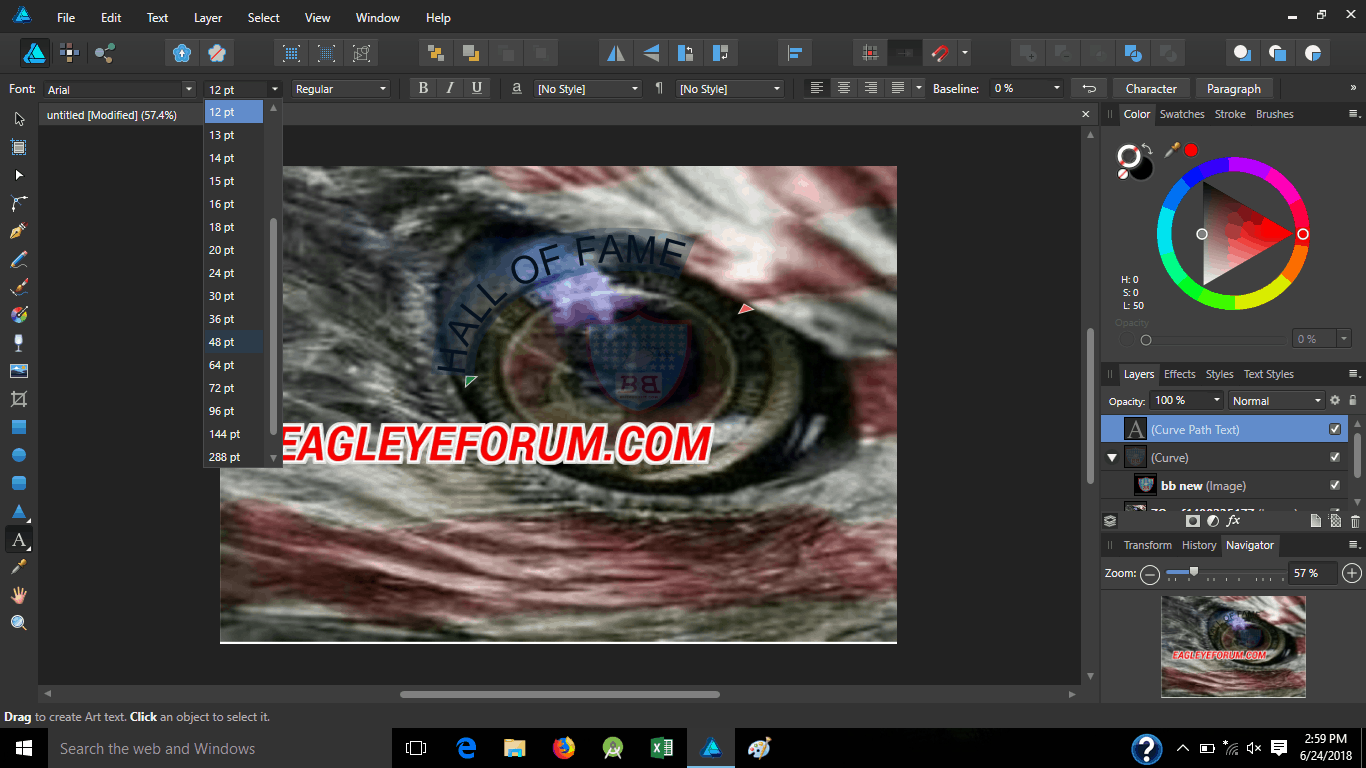
Now I want to add text around the eye so I will got to pen and add the curve, draw a line over the eye, head to “layer” on the menu and scroll down to “text to path”;
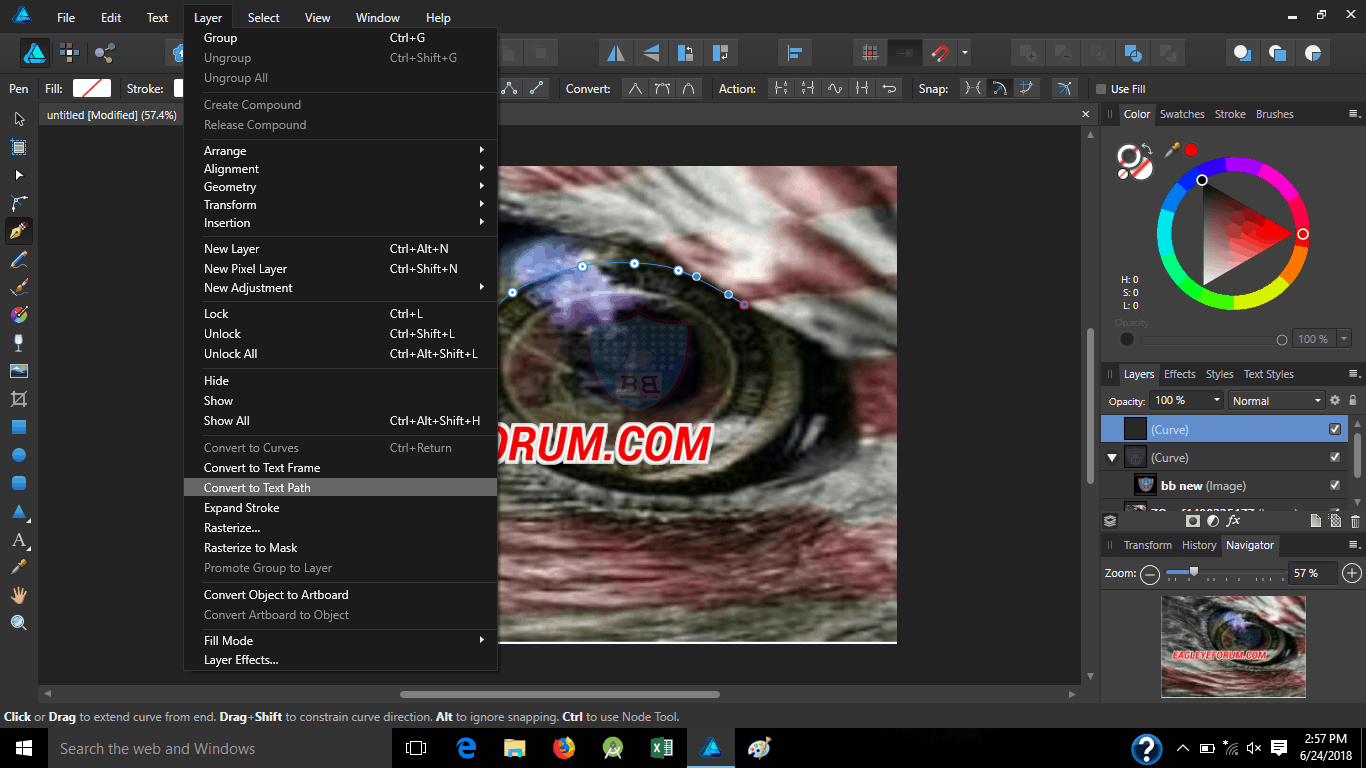
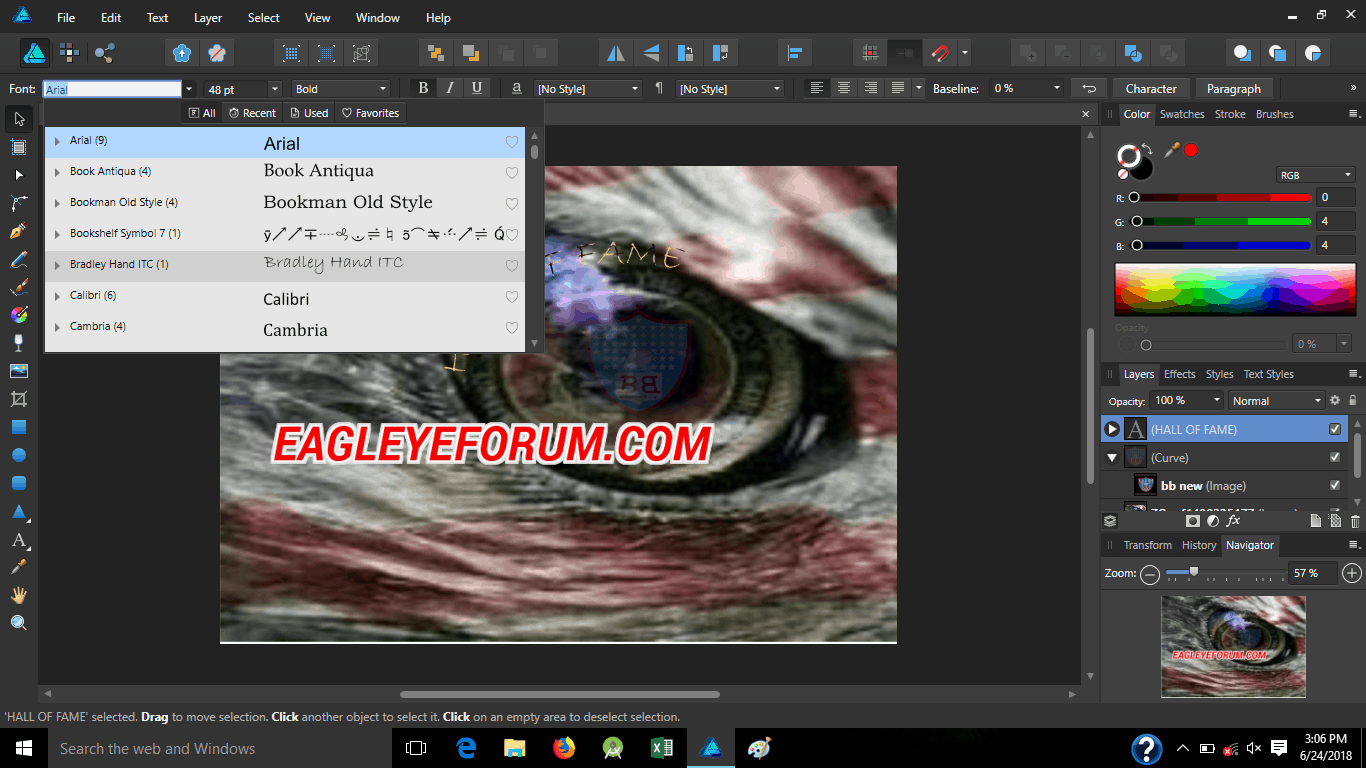
Highlight the text and you can change the size and/or font;
Or even upload an image to it;
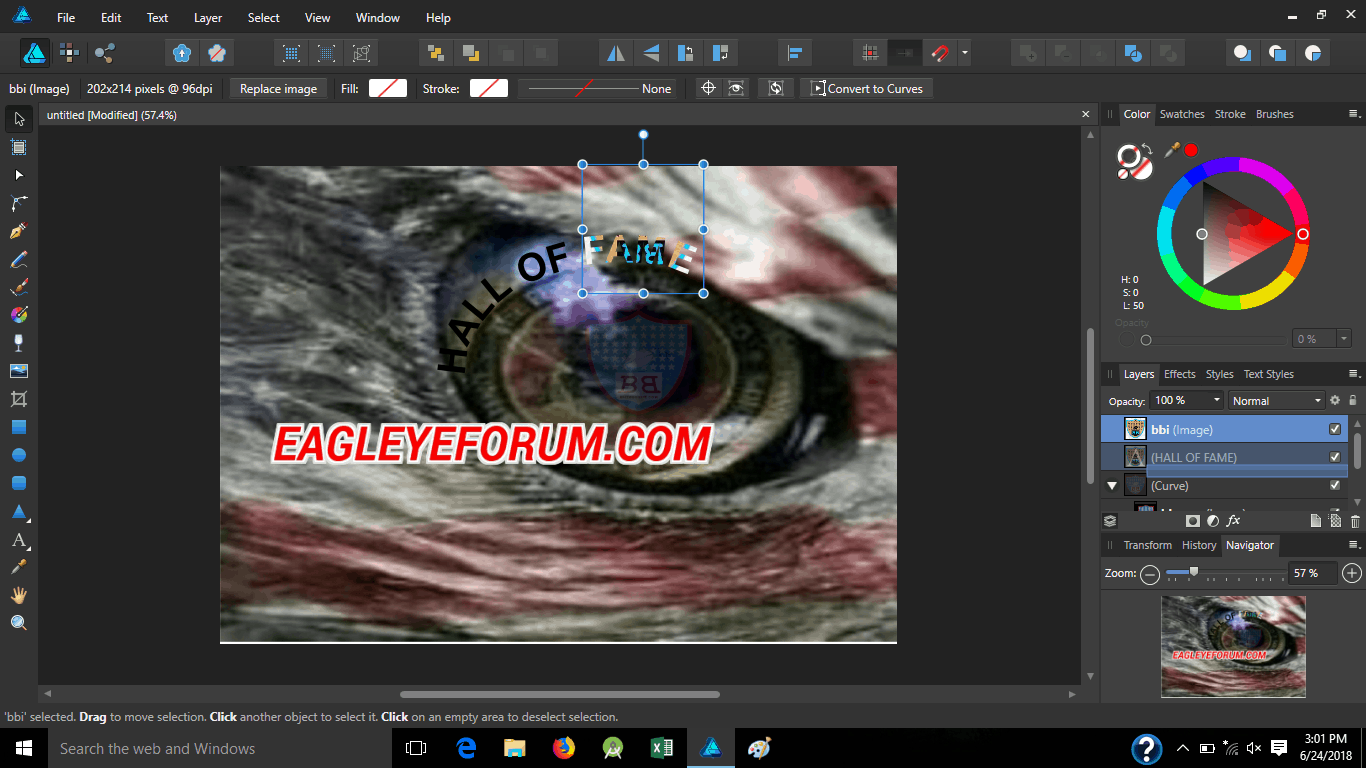
You can change colors through “styles”, or the drop-down list by “opacity and spread that image out.